1. Preparation
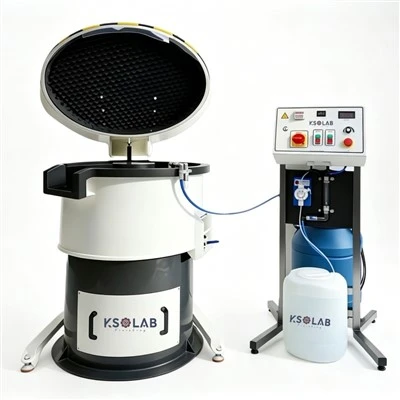
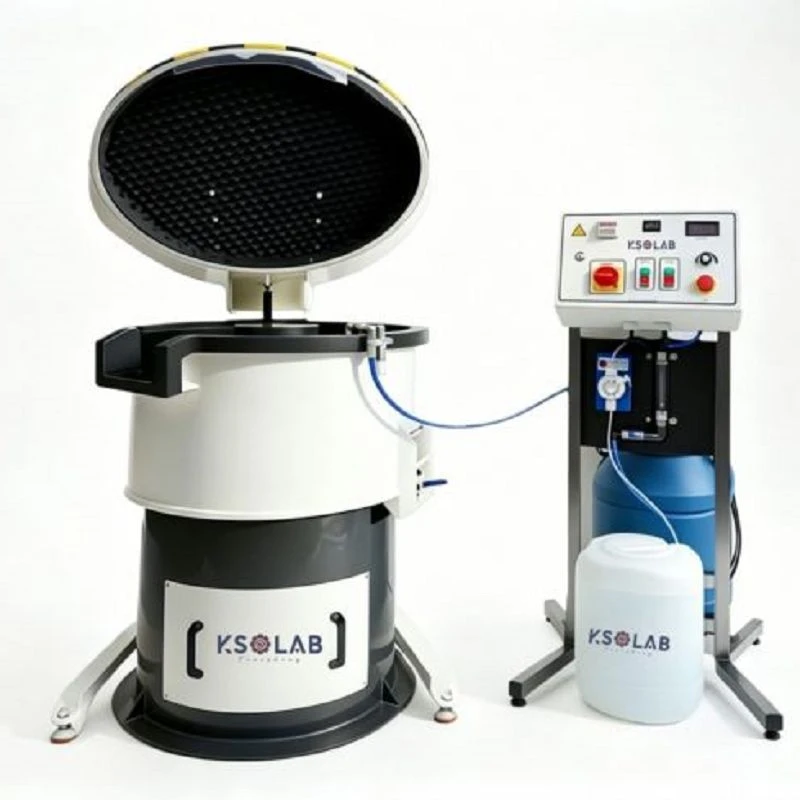
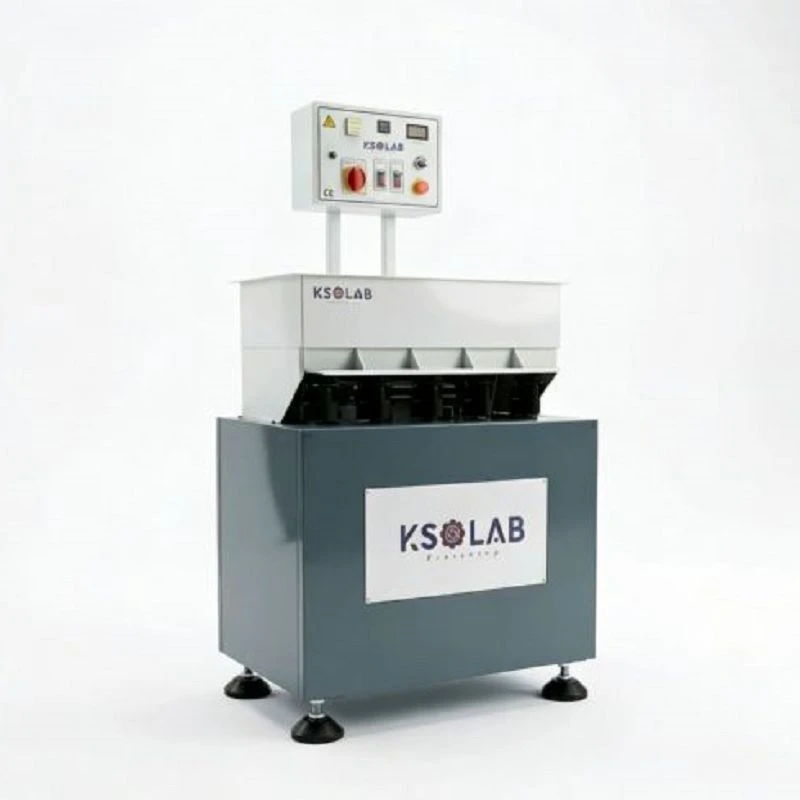
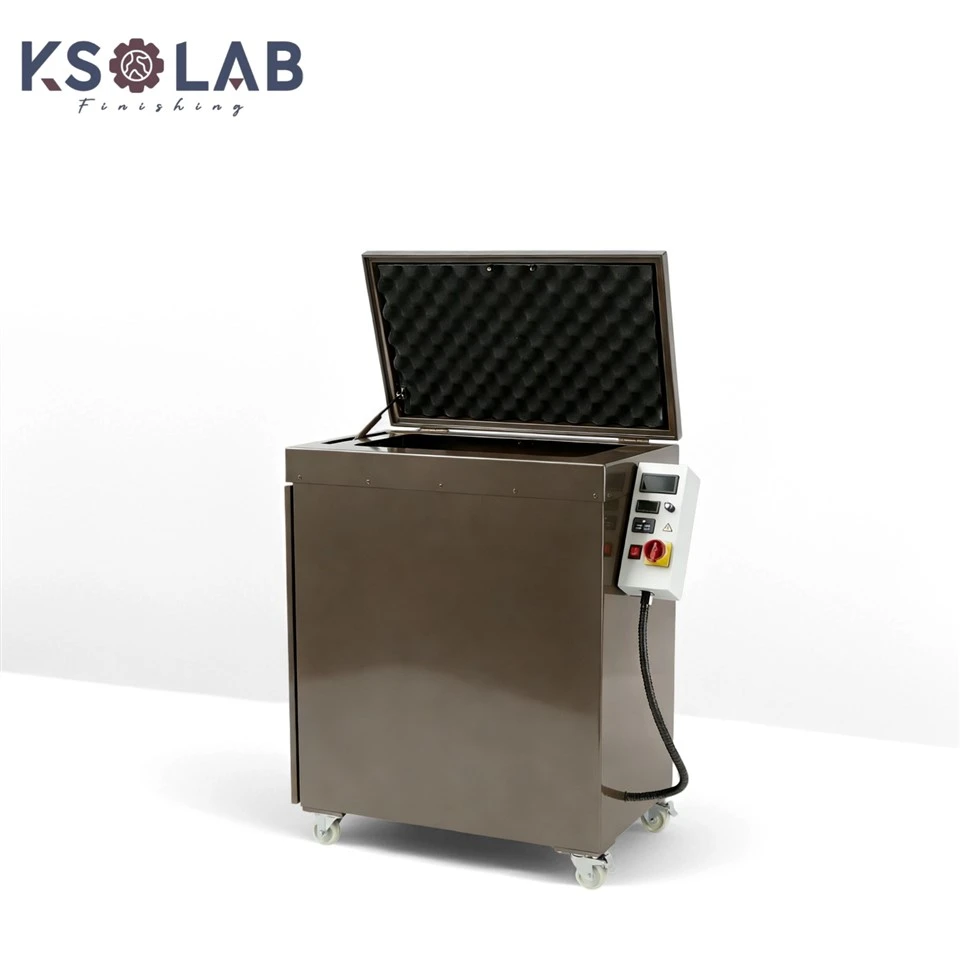
Before using the drum polisher, first ensure the equipment is intact and the power connection is normal. Inspect the drive system, drum, and control panel to ensure there are no abnormalities or loose parts. Prepare the polishing media and materials, ensuring they are clean and dry to avoid impurities affecting the polishing effect.
2. Loading Materials
Load the materials into the drum according to their type and size. Ensure the materials are evenly distributed within the drum, avoiding overly dense stacking or bias to one side, which can affect polishing uniformity. If necessary, use a securing device to hold the materials in place within the drum to prevent movement during rotation.
3. Setting Parameters
Open the control panel and set the appropriate speed and time according to the material's hardness, size, and polishing requirements. Generally, harder materials require lower speeds and longer processing times, while softer materials can use higher speeds.
4. Starting the Equipment
After confirming everything is ready, press the start button; the drum will begin rotating. During operation, observe the equipment's status to ensure there is no abnormal vibration or noise.
5. Monitor the Polishing Process
During polishing, the condition of the material should be checked regularly, and parameters adjusted as necessary. For more complex processes, the process can be paused midway for localized checks.
6. End of Work
After the set time is reached, turn off the equipment and wait for the rollers to come to a complete stop before removing the material. Care should be taken to remove the material carefully to avoid shaking or damage caused by high-speed rotation.
7. Cleaning and Maintenance
After use, the rollers and polishing media should be cleaned to remove any residual material. Regularly check the lubrication and wear of the equipment to ensure its normal operation.